Hot Products
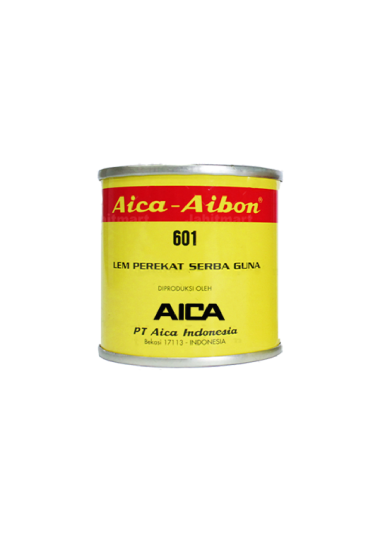
Aibon 601 (70 gr)
Aibon 601 (70 gr)
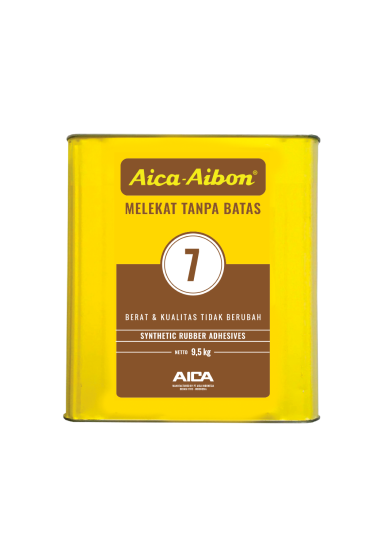
Aibon 7 (9.5 kg)
Aibon 7 (9.5 kg)
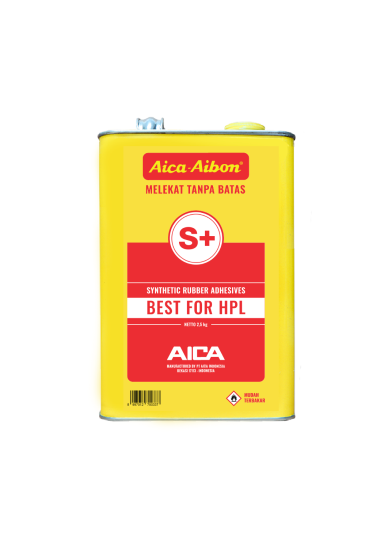
Aibon S+ (2.5 kg)
Aibon S+ (2.5 kg)
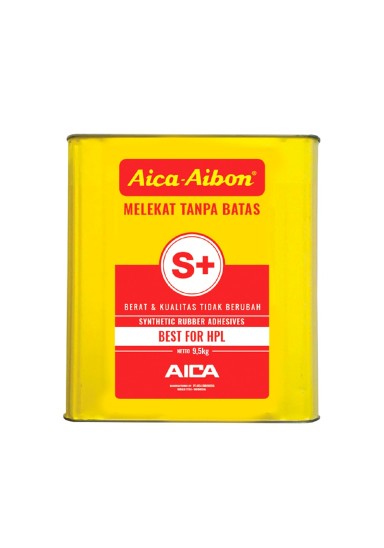
Aibon S+ (9,5 kg)
Aibon S+ (9,5 kg)
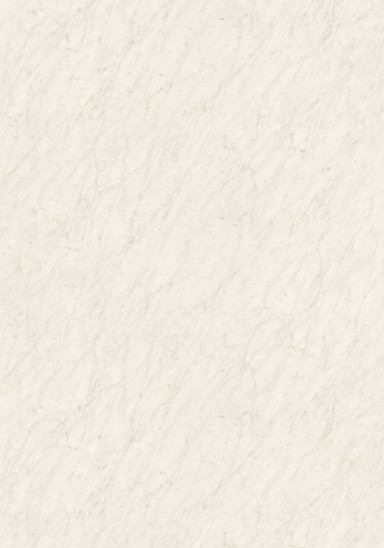
Bianco Carrara
HAK-14038-ZM83
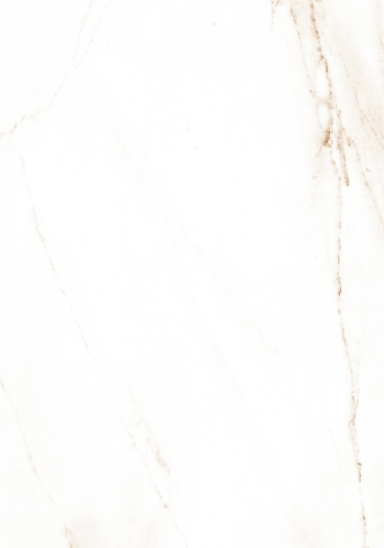
Glacier Carrara
XKAF-14198-ZMN
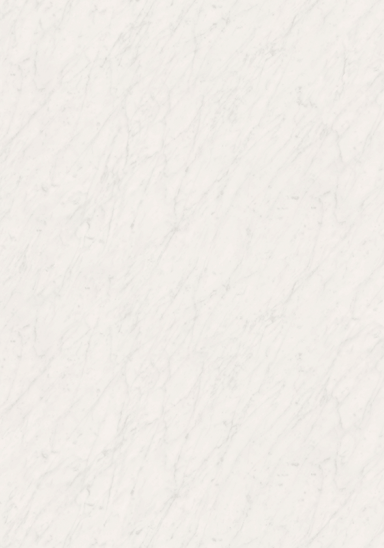
Glossy Bianco Carrara
XKAF-14038-ZMN
Glossy Brown Canty Pearl
XKAF-14040-ZMN
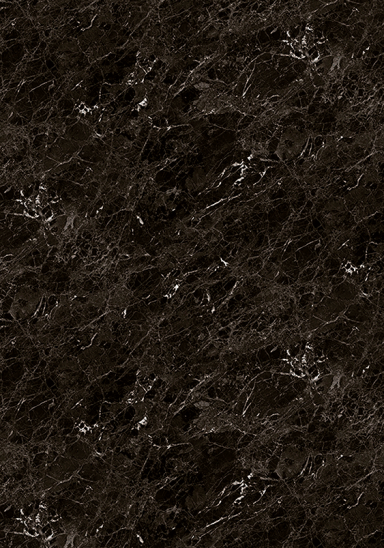
Glossy Dark Noir Saint Laurent
XKAF-14146-ZMN
Glossy Gray Nebura